Creating a CMS that runs in your browser
Why do content management systems have backends? If end users only see your cached HTML, is it worth the technical complexity just so you can edit in production?
This line of questioning led many, including me, to static site generators. I even created one for the open source CMS Drupal. Static site generators are very useful, but they still require a level of technical skill that many users don’t have. Using a WYSIWYG editor, uploading images, and editing templates all in a user interface shouldn’t go undervalued.
After a long think on this subject, I created a CMS that runs completely in your browser tab: tabcms. You can use it right now to edit content, upload images inline, edit templates, and export static HTML all without leaving your browser. Note that I mean nothing leaves your browser - there’s no backend and no HTTP requests occur after you first load the site!
I launched tabcms in late 2020, and by launch I mean uploaded an index.html file to Netlify, and made a few Tweets about it to see how people would respond. Perhaps predictably, the prospect of yet another CMS, as novel as it may be, was not that exciting to people. So hopefully this post will get a few more eyes on it and inspire more people to build complex web applications without backends.
Spaghetti at least tastes good
First, since I know a lot of people are going to go straight to the codebase, I’ll note that I wrote this to first prove a concept, and second to get things working well enough to publish the site. The code is pretty minimalistic and messy. I wrote tabcms with vanilla JavaScript, and only used dependencies when the prospect of writing something myself seemed painful.
The entire site only has 875 lines of vanilla JS, which is neat given how many things it can do. It uses no framework, so you can edit the code at will without any build step. With that disclaimer aside, let’s dig in!
Normal editing, magic glue
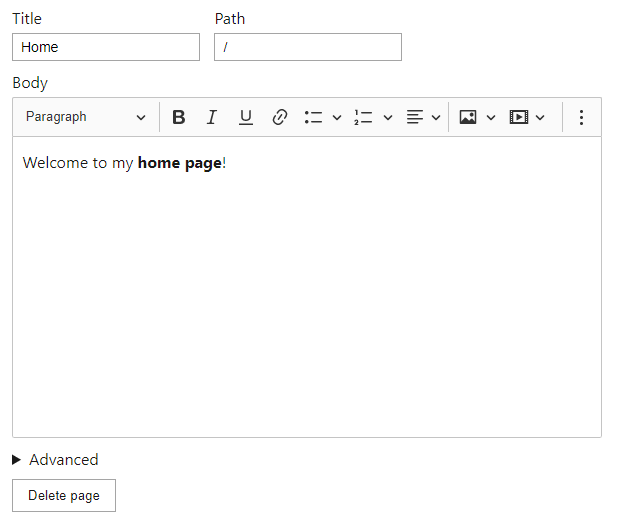
All content in tabcms is considered a “Page”, and has a title, path, body, and extra data you can use for templating. The body field uses CKEditor 5, a popular WYSIWYG tool, which I’m familiar with from my years developing with Drupal. CKEditor lets you do things like change text formatting, use oEmbed for rich media, and embed images inline.
When you open a Page’s form and edit any fields, it automatically syncs changes with the global state, which is persisted using localForage. Since I’m not using a framework, this happens using event listeners and variable updates, not “real” state management. After getting basic editing working, I decided to give image uploading a try in CKEditor. As I should have expected, this failed since there was no backend for images to upload to!
Luckily for me, CKEditor 5 is fairly extensible, and provides documentation for creating a custom upload adapter, which I could use to override the default behavior. When you upload a file with CKEditor, or a normal file element, you get a File object. In a normal CMS, this might be sent to the backend right away, then a real file URL is used within the WYSIWYG editor. It turns out that to make in-browser uploads work, I needed to use object URLs.
An object URL is a temporary reference to a Blob that lets you use files in a normal HTML context (like in an img tag’s src attribute). They look something like this: blob:https://tabcms.com/914d446a-aea0-4cb8-bfa2-8225c5645302#filename=foo.png. Note that the “#filename=” part of the URL is something custom I created to make converting to and from Blob URLs easy. My upload adapter returned this URL to CKEditor, and it worked!
I think a lot of existing CMSes could save a ton on performance by using Blobs and only uploading when necessary, like when the form is actually submitted. I’m sure many inline image editors work this way already but I’ve seen a few that make backend calls every time they perform simple manipulations, which could be done client-side.
With CKEditor working, I had the content part of a CMS down. Next I had to figure out how to generate a real static site you could use in production.
From content to a real site
Just having content isn’t enough to generate a static site - you also need the wrapping HTML that represents the entire page. I realized that I needed some kind of templating so that users can change the look and feel of their site, and after a bit of research I landed on EJS.

EJS has been around a long time and is still quite popular, which I think is due to its simplicity and choice to use normal JavaScript instead of its own template syntax. It’s closer to JSX or PHP templates than Handlebars in that way.
I made a quick user interface that lets you modify templates, and provided the current Page as context so users could render its fields. I had everything I needed now to take a Page and get HTML for it.
With templates in place, the static site render pipeline works like this:
- Create a new in-memory ZIP file (I’m using JSZip for this)
- Add all uploaded images to the ZIP file in the /assets directory
- Iterate over every Page
- Pass the Page’s fields to the initial EJS template
- EJS compiles the template, using a custom include callback to allow users to include other templates they wrote
- Replace all Blob URLs in the rendered HTML with real paths, so our example earlier would become /assets/foo.png
- Create a folder in the ZIP file that corresponds with the Page’s path, then put the finished HTML for the Page into an index.html file in that folder
- After all Pages are finished, add the global state to the ZIP in a JSON file that can be re-read on upload to re-initialize the webapp
- Download the ZIP
Now that downloaded archive can be extracted onto any web hosting and just work, it even works when dragged and dropped into a Netlify site!
Not all files are images
I knew I was close to done with the project at this point, but I still wanted to build out a demo site to perform a realistic test of the functionality. When it came time to add CSS, I realized that I had no way to upload files that aren’t images. I added an “Upload file” button, and hardcoded a list of filename patterns (*.css, *.js, CNAME, etc.) that would allow users to edit some files as plain text so they never have to leave the user interface.
Another feature I added before I moved on was file usage. When you’re viewing or editing a file, tabcms will try to figure out what content and templates it was used in. This is pretty useful when cleaning up old uploads.
Accessible code editing
When I was editing templates or plain text files, I instinctively wanted to be able to press “tab” and indent a line of code as if I was using a normal code editor. I started working on this, but learned that trapping “tab” while focusing on textareas would break the default behavior of tab changing what’s focused.
There are a lot of code editor libraries out there, but most I tried did not have keyboard accessibility. When going through their GitHub issue queues, I found many open accessibility issues related to the extra JavaScript-y features they bolted onto textareas.
To help maintain accessibility, I made tabbing to add spaces opt-in, so that if you focus on a textarea then press “ctrl+m”, the tab key would now insert spaces instead of changing focus. Pressing the key combination again would disable this behavior. If you want to steal this for your own site, download textareatab.js and then call enableTextareaTabbing(document.getElementById("my-textarea")); in your codebase.
Ice cold reloading
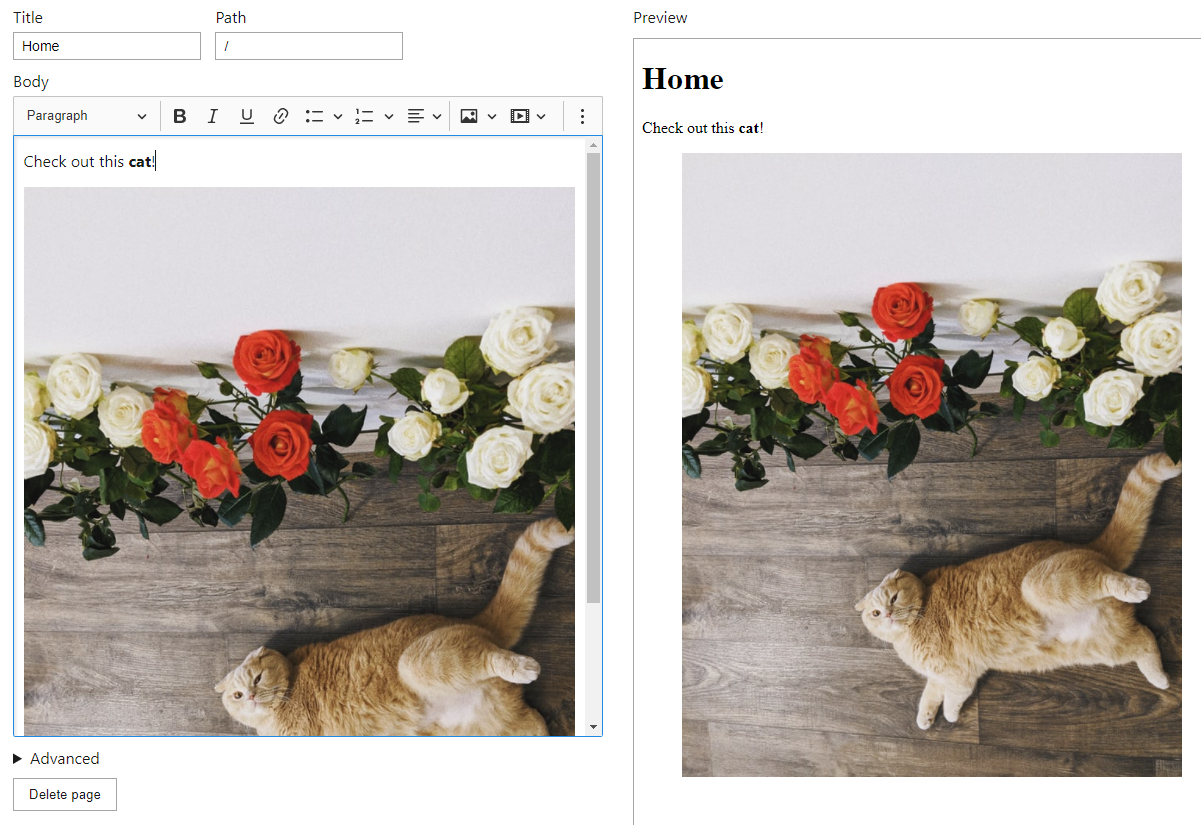
A last minute quality of life feature was inline previews - since you’re editing templates, CSS, and JS in the user interface, you probably want to see how your site looks. I added an iframe to the right side of the edit form, and rendered the current Page as HTML in the iframe as you made changes. This is similar to how the final HTML is rendered, except that Blob URLs are used for all files including CSS/JS. Things flash a bit as you type since it’s a full refresh, but I’m happy with the result.
Lessons learned for new projects
As I remember it, after adding previews I wrapped up the project and published it live. If you want to check it out, you can visit https://tabcms.com and see a short tour I made to guide you through the user interface. Just remember to download your site before you clear your local storage!
I mentioned before that the code was a bit messy, but I did do some things I’ll probably do again in future web apps:
- Use vanilla JavaScript - While event listeners and manual DOM updates can get old, there’s a lot of value in not being tied to a framework and not having a build step.
- Persist user data in local storage and downloads, not backends - As I mentioned earlier, tabcms stores everything in the browser, allowing you to download archives of your site and then upload them later to edit them again. While there is complexity here (I didn’t even mention migrating imports from old versions), I think the pattern is pretty good and allowed me to prototype something without writing an API or backend.
- For personal projects, don’t be afraid to write messy code - Publishing open source code can be scary, and when I write something like a library I tend to be meticulous with my code review and test coverage. With tabcms I didn’t really care how it was written since what I’m really sharing with the public is the web app, not the codebase.
A few months after publishing tabcms I did apply a lot of these lessons to midi-tape, a MIDI recorder inspired by 4 track cassette recorders and Teenage Engineering’s OP-1. It’s messy, uses vanilla JavaScript, and handles persistent data in a very similar way to tabcms. I can see myself using these patterns a lot in the future.
If you read this far, give tabcms a try and enjoy what your browser can do all by itself. Thanks!